Circus Wagon Project2/20/2019 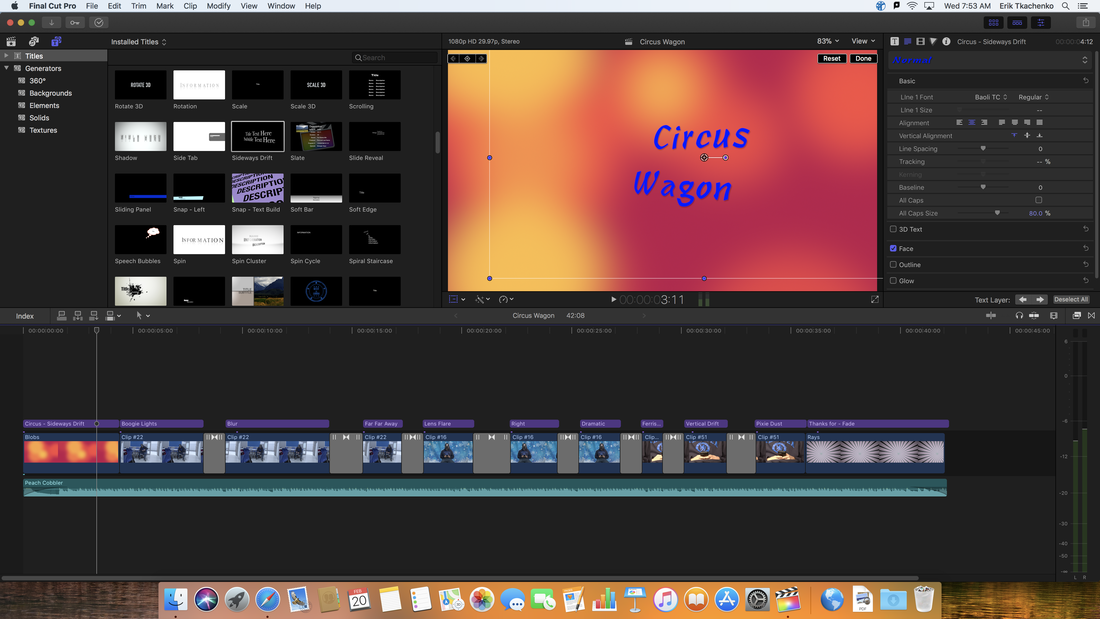 The Circus Wagon project was an interesting experience for me, because unlike usual projects in school, I didn't really have a clear sense of direction. The rules were to basically make as many changes as you could, which was nice because it let me experiment with many different things. Being told to edit font, add transitions, move text, add filters, and cut the video helped me familiarize myself with the software very well, even though it may have been confusing at first. I personally liked this project and I will always like projects which allow me to use my creativity without having very strict rules to follow. I also think the best way to learn something new is to be thrown into it to figure it out through experimentation, and that definitely worked here. Whenever I couldn't figure something out, I would just keep looking around on the screen and trying different things until I could fix whatever was wrong, and that taught me a lot. I think soon, I will be prepared for future endeavors in Final Cut Pro.
0 Comments
 In this video tutorial, I learned many important tips when shooting videos, so here I will list my top 5.
1. HEADPHONES: One very important thing I learned about recording is to always use headphones, especially when recording interviews, because even if you may have a good microphone, you don't know if it sounds good or if it is even working correctly unless you are able to monitor the audio live. 2. WIDE MEDIUM AND TIGHT: Always record a wide, medium, and tight shot for the same action you decide to capture! This is important because these 3 basic shots are the building block for sequences, which can help the viewer understand what is important/the focus of each shot and can help tell a story. The wide shot establishes a setting, the medium shows the action/subject, and the closeup gives further detail. 3. RULE OF THIRDS: Instead of simply centering every subject in every shot, imagine the camera view being cut into 9 equal boxes like a tic-tac-toe board, and aim to put the subject of the shot into one of the 4 cross hairs where the lines intersect. If there isn't one specific subject of the shot you want to focus on, you can also align things with any of the division lines, for example lining the horizon with the bottom 3rd line which draws focus above the ground (at the sunset). Correct usage of the rule of thirds creates a more interesting shot. 3a. EYES ON THIRD: An extension of rule 3, always align a person's eyes with the upper 3rd line, no matter what type of shot it is (wide, medium, or tight). This is to insure that the person is properly framed. In an interview, you also want to align their eyes with one of the vertical lines which gives them more empty space in front of their nose. For example, if they are facing right, line their eyes up with the left vertical line, and obviously the top horizontal line like always. 4. LIGHTING: Put the light behind the camera, not behind the subject. The light being behind the subject makes it harder to see, so position the camera so that the light always hits in front of the subject. 5. WHITE BALANCE: To accurately recreate every color, it is important to white balance a camera. This is done by holding a white object in front of the camera and zooming in on it, then holding down the white balance button on the camera. Once the camera knows what color white is, it is able to properly portray every other using white as a reference. Common white balance errors can cause many outdoor shots to appear too blue, or indoor shots to appear too orange. These were 5 tips that I thought were most useful from Video Coach: Volume 1! AuthorErik is a Broadcast Tech I student at Ladue Horton Watkins High School. Archives
May 2019
Categories |
 RSS Feed
